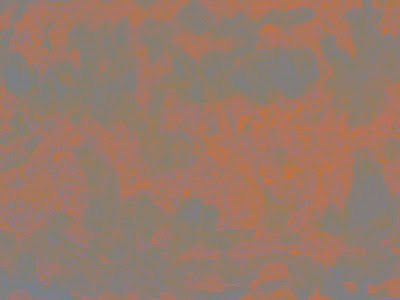
So, how do you make your own photo textures? Grab your camera! Almost everything around you has texture. Put your camera on macro mode and start snapping away! (Macro mode allows you to get a close up picture of your grain.) Here's some examples:
This first example is the brick on my house. I did it as a divide layer at 50% opacity.
This second example is just a patch of grass. I did it as an overlay at 30% opacity.
My third example is a patch of rust on my husband's trailer hitch. I did it as an overlay at 100% opacity.
Think outside of the obvious when looking for textures around you. Things such as the asphalt in your driveway, your carpet, even a patch of salt on your car in the winter, could make a cool texture for a photo.
Also think beyond your actual picture for textures. Take your texture picture then play with it for different effects. Here's some examples:
Remember the rust picture above? I made a black and white copy then added that copy as a grain extract layer at 100% opacity. Now my rust has now become a totally different texture!
This is the original picture I took of salt on my car from the winter.
Here I made a black and white copy then added that copy as an addition layer at 100% opacity. Now I have a totally different texture!
See, I told you making your own photo textures was super easy! Now grab your camera, start clicking away, then play with your photo editing software, and come up with your own textures!
Would you try making your own textures? Have you tried already? How did they turn out?


2 comments:
I love your tutorials!
Awesome!
Post a Comment